
Classic, minimalist silhouettes or flowing, artistic watercolor designs are the most popular horse tattoo ideas for females. These designs often focus on the animal’s grace and strength, allowing you to choose between small, delicate wrist placements or larger, detailed pieces on the thigh or shoulder. This guide covers how to select a style, prepare for your appointment, and ensure your tattoo heals properly.
Choosing your horse tattoo style
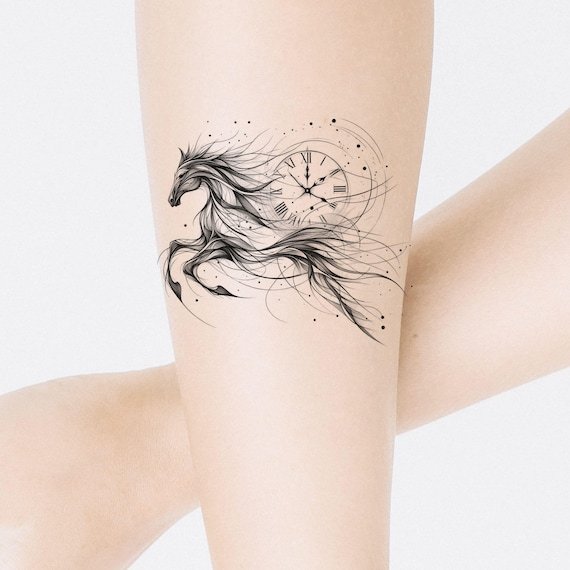
A tattoo is a permanent mark of your personal aesthetic, and choosing the right style is as important as the subject itself. Many people seek a horse design because it represents freedom, spirit, or a deep connection to equestrian life. The most common misconception is that all horse tattoos must be hyper-realistic, requiring massive amounts of skin space and high costs. In reality, a skilled artist can capture the essence of a horse using simple line work or geometric shapes, which often look cleaner as they age on the skin.
Every tattoo involves a trade-off between detail and durability. A highly intricate, small tattoo with many tiny lines may blur over time as your skin naturally regenerates. If you want a small piece, choose a bold, minimalist outline. If you prefer high detail, expect to dedicate a larger surface area like your back or calf to prevent the ink from “bleeding” together. Before you commit, remember that your skin is a living canvas that changes with time, weight, and sun exposure.
Getting your design ready
- Find a reference image that captures the horse’s specific posture or expression you love.
- Select a placement that complements your body’s natural lines, such as the curve of your shoulder blade or the length of your forearm.
- Consult with an artist who specializes in your preferred style, such as fine-line, illustrative, or neo-traditional.
- Ask for a custom stencil rather than picking a generic “flash” design directly off a wall.
- Review the size and placement with your artist, making sure it looks balanced when you’re standing in a neutral position.
- Confirm the ink colors and shading techniques, as some colors fade faster than others depending on your skin tone and sun exposure.
The decision that defines your result is the choice of artist. If you prioritize price over experience, you’re more likely to end up with uneven lines or poor shading. Always check an artist’s healed portfolio, not just their fresh work, to see how their tattoos look after a year or more. If you aren’t sure if a shop is safe, check your local or state health department website to understand the safety standards for sterilization and needle disposal.
Horse tattoo ideas for females: Key variations
| Style | Best Placement | Detail Level | Maintenance |
|---|---|---|---|
| Minimalist Line | Wrist or Ankle | Low | High (touch-ups needed) |
| Watercolor | Shoulder or Thigh | High | Medium (fades faster) |
| Geometric | Forearm or Ribs | Medium | Low |
| Realistic Portrait | Back or Calf | Very High | Low (if large) |
| Tribal/Celtic | Lower Back or Hip | Medium | Low |
Minimalist line work relies on thin, singular needles. Because these lines are shallow, they often blur or fade within two years. If you choose this style, avoid joints like the elbow or knee, where constant skin stretching accelerates ink migration.
Watercolor tattoos lack a solid black outline. Without that border, the pigment diffuses into the surrounding skin over time. You must prioritize areas protected from direct sunlight, such as the inner thigh, to prevent the vibrant hues from turning muddy.
Geometric designs require perfect symmetry. A mistake people make is choosing a curved body part, like the bicep, for a rigid pattern. This causes the design to warp when you move. If your anatomy is highly muscular, stick to flatter surfaces like the upper back to preserve the grid’s integrity.
Realistic portraits demand high contrast. If the artist uses too much grey-wash, the image will lose definition as the skin ages. Ensure the piece is at least six inches tall; smaller portraits lack the room for the necessary depth.
Tribal or Celtic knots use heavy black saturation. The primary risk here is “blowout,” where ink spreads beneath the skin, creating a fuzzy edge. If you see the artist pressing too hard, stop the session. A clean tribal piece should look like a sharp, bold stencil, not a bruised patch of skin.
Use this rule: if the design is intricate, choose a flat, static area of the body. If the design is bold and simple, you can afford to place it on areas with more movement. Your skin’s elasticity determines the longevity of the ink more than the quality of the pigment itself.
Achieving the best results
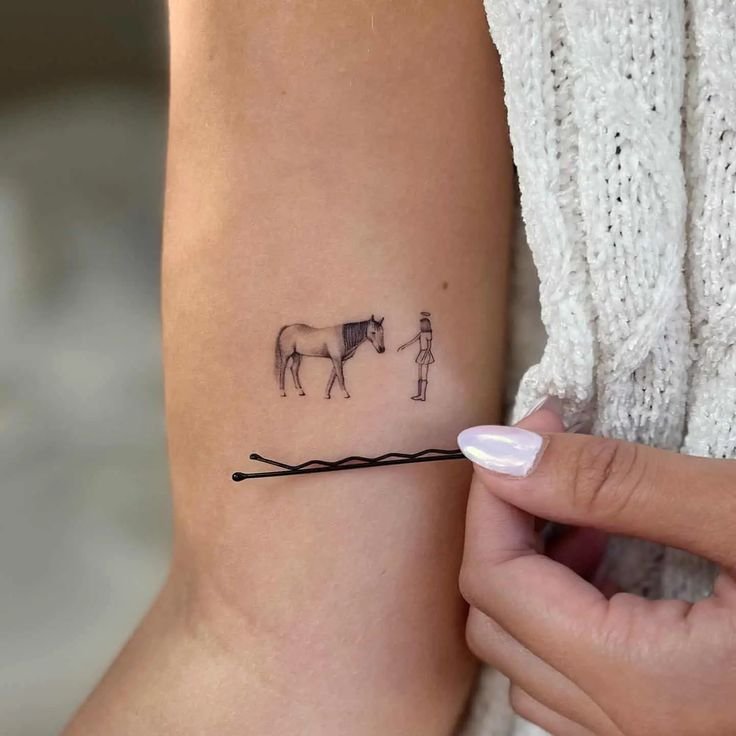
The preparation phase is where you set the stage for a clean, long-lasting tattoo. Experienced collectors avoid sun exposure for at least two weeks before their session, as sunburned or damaged skin is difficult to tattoo and may result in patchy ink. Hydrate your skin well in the days leading up to your visit, but don’t apply heavy lotions or oils on the day of the appointment, as these can interfere with the stencil transfer.
During the session, the order of operations matters. The artist will clean the area, apply the stencil, and then begin the lining process. If you feel dizzy or faint, tell your artist immediately; this is common, and they will stop to let you eat a sugary snack or drink water. Never try to “tough it out” if you feel lightheaded, as your body is reacting to the stress of the process.
After the tattoo is finished, leave the bandage on for the exact amount of time your artist suggests, which is usually between two and four hours. When you remove it, wash the area gently with unscented, antimicrobial soap and lukewarm water. Avoid scrubbing. Pat it dry with a clean paper towel—never a cloth towel, which can hold bacteria—and apply a thin layer of recommended ointment.
Common tattoo healing issues
| What you notice | What it usually means | What to do first |
|---|---|---|
| Redness/Swelling | Normal irritation | Apply a cold compress |
| Itching | Healing process | Pat, don’t scratch |
| Thick Scabbing | Dryness | Apply thin layer of ointment |
| Blurred lines | Ink migration | Consult your artist |
Redness and swelling typically subside within 48 hours. If the heat radiating from the skin increases after the third day, or if you notice red streaks extending away from the site, these are signs of infection rather than normal irritation. In this case, stop topical applications immediately and contact a medical professional.
Itching is a byproduct of skin cell regeneration. The most common mistake is scratching, which physically pulls ink out of the dermis and creates permanent gaps in your design. If the itching becomes unbearable, a light slap or tapping the area provides sensory relief without breaking the skin barrier.
Thick scabbing often results from over-moisturizing. If you apply ointment too heavily, you suffocate the tattoo and create a wet environment where bacteria thrive. Use a pea-sized amount of product only; if the tattoo looks shiny or wet, you have used too much. Blot the excess with a clean paper towel.
Blurred lines can be a sign of a “blowout,” where the artist inserted ink too deeply into the subcutaneous fat layer. This usually happens during the session and becomes visible as the tattoo heals.
Deciding between normal healing and a problem comes down to the timeline. If symptoms improve daily, you’re on track. If symptoms worsen or remain stagnant for more than 72 hours, you’re dealing with a complication. Never apply alcohol or hydrogen peroxide to a healing tattoo, as these will kill healthy cells and delay the recovery process significantly.
Rules for professional safety
The most important rule is to follow your artist’s aftercare instructions exactly. These protocols are designed based on the specific ink and equipment used during your session. Deviating from their guidance, such as using an unapproved ointment, can trap bacteria or suffocate the healing skin.
If you notice signs of infection—such as excessive heat, pus, or red streaks spreading away from the tattoo—contact a medical professional right away. Don’t wait for the symptoms to subside on their own. Red streaks are a specific warning sign that the infection may be entering your lymphatic system.
Never treat a suspected infection with home remedies like hydrogen peroxide or alcohol. These substances damage healing tissue and delay recovery. You need a doctor to assess if you require oral antibiotics. A common mistake is assuming that a small amount of yellow discharge is normal; if it smells foul or crusts heavily, it’s likely an infection that requires professional intervention.
Regarding the “charley horse” muscle cramp often searched for in relation to this topic, these are unrelated to tattoo placement. A muscle cramp happens when a muscle contracts involuntarily and stays that way. If you happen to have a cramp during your session, move slowly and ask your artist for a break. Don’t try to “push through” the pain, as sudden movement can cause the needle to slip and ruin your design.
If you’re getting a tattoo on a high-tension area like the ribs, your muscles may twitch. This is a physical response to nerve stimulation and not a sign of a bad tattoo. To minimize this, ensure you have eaten a high-protein meal at least two hours before your appointment. If you feel lightheaded, signal your artist immediately so they can stop the machine and allow your blood sugar to stabilize.
The decision rule is simple: if the pain is localized to the needle, it’s part of the process. If the pain radiates or causes systemic shaking, you must pause the session. Prioritizing your physical stability ensures both your safety and the longevity of your new ink.
Maintaining your ink
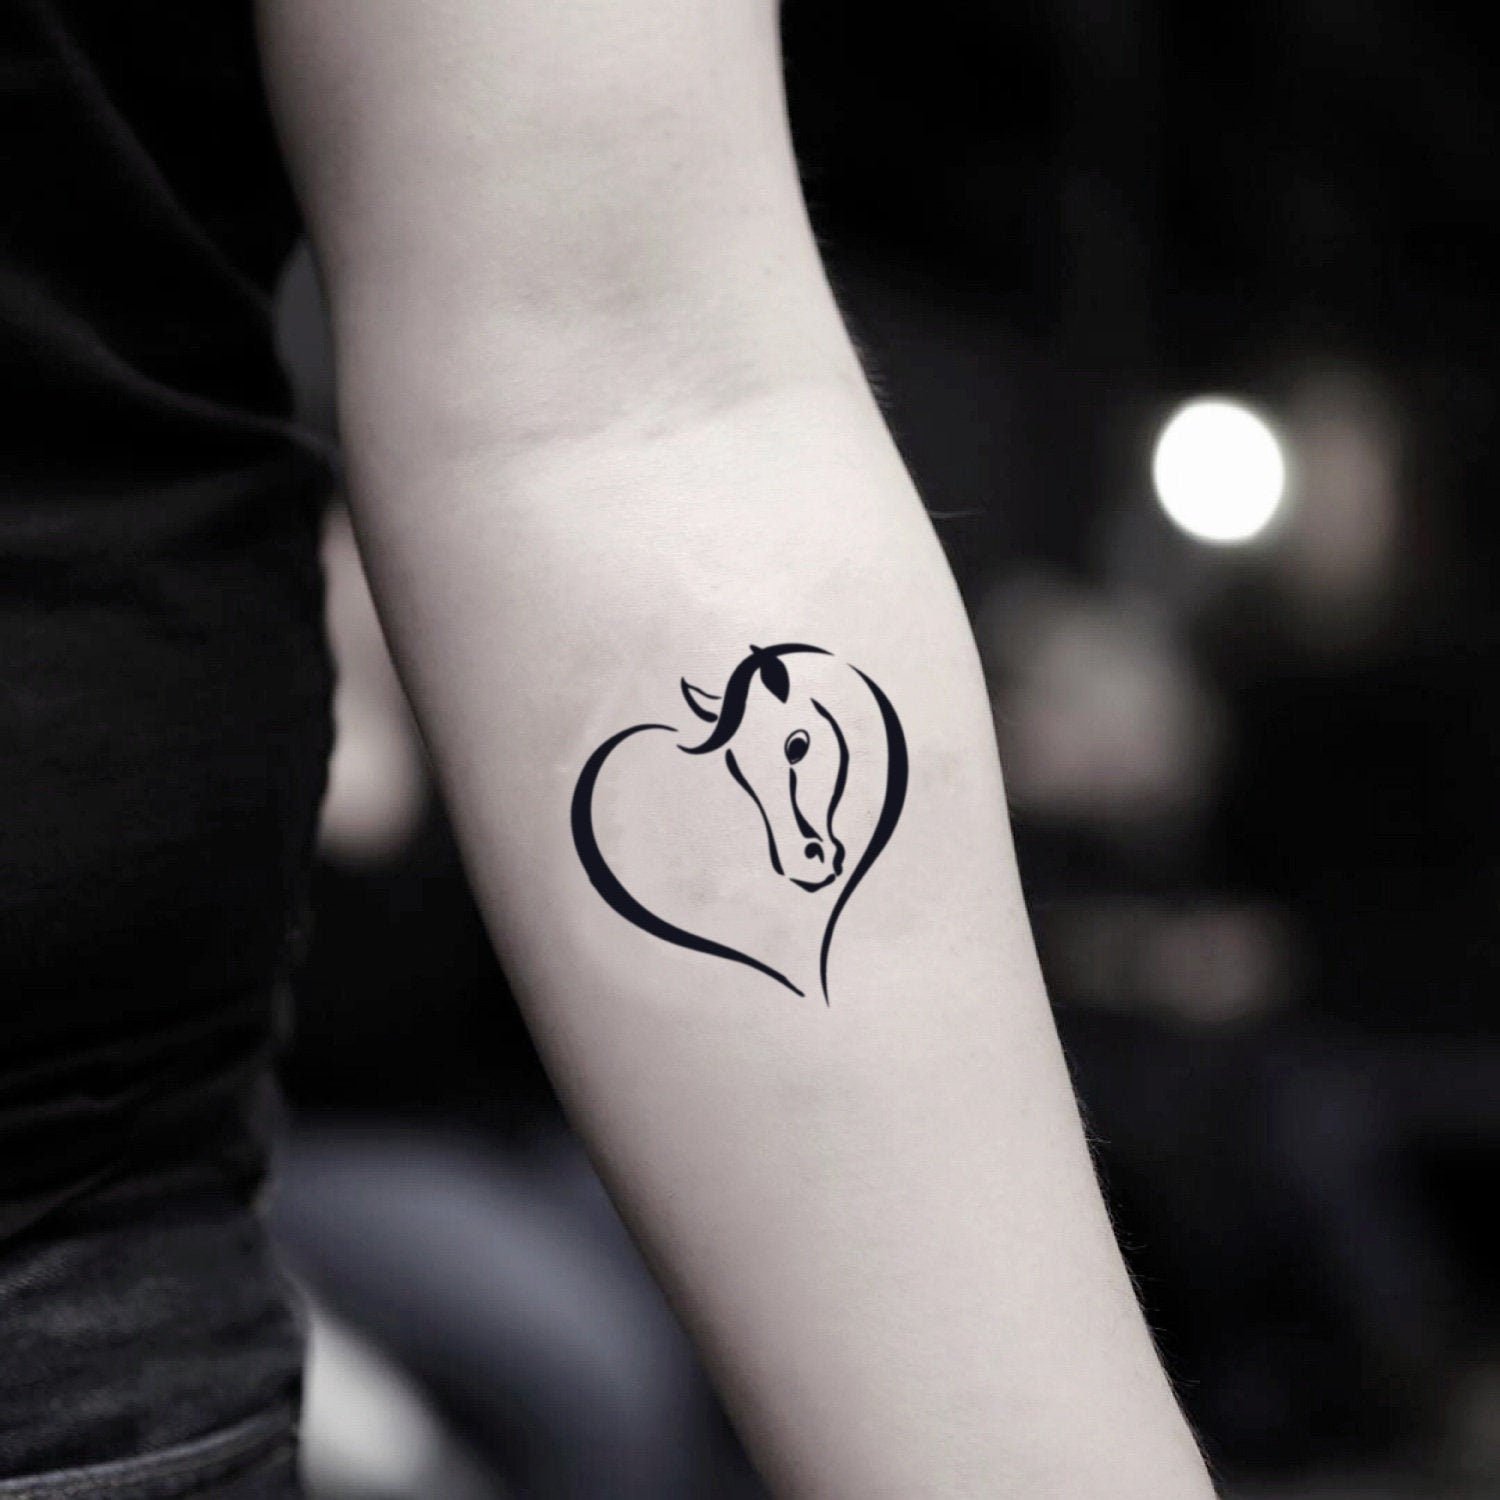
Once your tattoo is fully healed, usually after four to six weeks, your main goal is protection. The sun is the primary enemy of tattoo longevity, as ultraviolet rays break down ink particles over time. Always apply a high-SPF sunscreen to your tattoo whenever it’s exposed to direct sunlight to keep the colors vibrant.
Aim for an SPF of 50 or higher. Sunscreen isn’t optional; even a few minutes of direct exposure daily accumulates into noticeable fading over a decade. If you’re at the beach, reapply every two hours regardless of the product’s water-resistance rating.
If you notice the colors starting to fade after a few years, a touch-up session can restore the contrast and definition. However, distinguish between natural aging and poor healing. If the lines are blurring, your skin may have been overworked during the initial session. In that case, a touch-up won’t fix the underlying scar tissue. Consult a professional artist to see if the ink is still deep enough to hold a new pass.
Avoid over-moisturizing, as this can clog pores and lead to breakouts around the area. A thin layer of fragrance-free lotion is sufficient whenever you notice it. If you notice small, pimple-like bumps, stop applying lotion immediately for three days.
Keep the skin hydrated from the inside by drinking water, which helps maintain the elasticity of the skin and keeps the ink looking sharp. Dehydrated skin loses its natural glow, making the tattoo appear dull or dusty.
Situations to avoid
This approach isn’t for everyone, especially if you’re prone to keloid scarring. If you have a history of thick, raised scars after minor cuts, talk to a dermatologist before getting a tattoo. A keloid can grow well beyond the original site of the needle, potentially turning a decorative piece into a permanent, painful medical complication.
If you’re planning to get pregnant soon, consider that tattoos on the stomach or hips can distort as the skin expands. Skin elasticity varies wildly between individuals; a design that looks crisp today may lose its geometric integrity or blur significantly after the rapid stretching of the third trimester.
In these cases, choosing a placement like the upper back, forearm, or calf is a smarter, safer choice. These areas experience far less surface tension during weight fluctuations or pregnancy, ensuring your design stays looking exactly as you intended for years to come.
You should also avoid getting tattooed while on blood-thinning medication or immediately following heavy alcohol consumption. Both substances increase bleeding, which can make it difficult for the artist to see the stencil and work accurately, potentially leading to poor saturation.
If your skin is currently compromised by sunburn, eczema, or active acne, wait until the area is fully healed. Tattooing over inflammation forces the artist to work on uneven, damaged tissue. This increases the risk of infection and almost always leads to patchy, uneven color saturation that requires expensive touch-ups later. If the skin feels hot or looks red, delay your appointment by at least three weeks.
Related guides